The Ultimate Guide to Capturing Your Own Wild Yeast
A patient, seven-day method for building a lively sourdough starter from nothing more than flour and water.
 By Amanda Kelly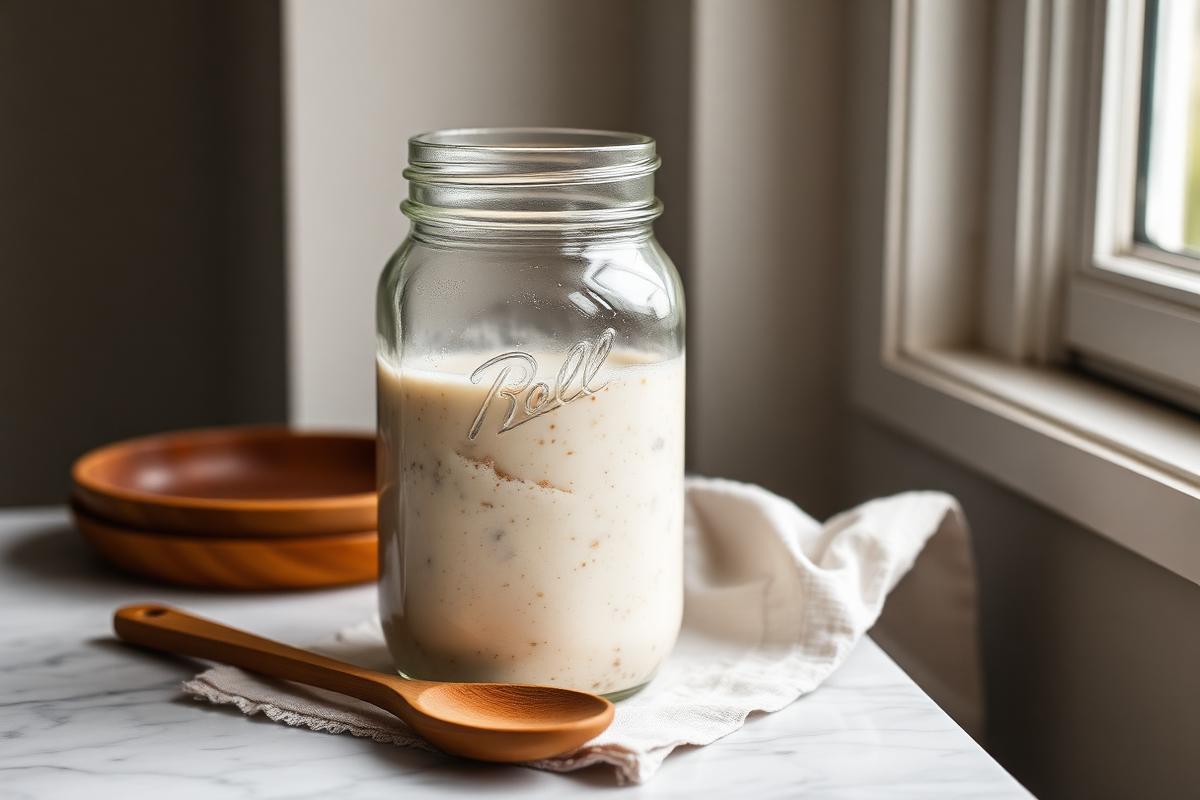
Every great loaf begins in a jar. Before you shape a boule or score an ear, you're a cultivator — a keeper of a small, hungry ecosystem of wild yeast and lactic bacteria. The starter is the soul of sourdough, and it costs almost nothing to grow.
The premise is simple: flour and water, left in the open, will attract the wild microbes already present in your kitchen and on the grain itself. With regular feedings, those microbes multiply into a stable colony strong enough to leaven bread.
Below is the exact schedule we use in our own kitchens. It errs on the side of patience — a slow, cool ferment produces better flavor than a hurried, warm one — and it works even if your kitchen sits below 68°F.
Frequently Asked Questions
How do I know my starter is ready to bake with?
+
It should predictably double in size within 4 to 6 hours of feeding, smell yeasty and mildly tangy, and pass the float test in cool water.
What flour should I use for feedings?
+
A 50/50 blend of whole wheat and unbleached bread flour builds fastest. Once established, most bakers maintain with plain bread flour.
Can I use tap water?
+
If your tap water is heavily chlorinated, leave it uncovered for a few hours or use filtered water — chlorine slows fermentation.
Comments
Comments are moderated. Be kind, be curious, and share your bake photos.
Related Articles
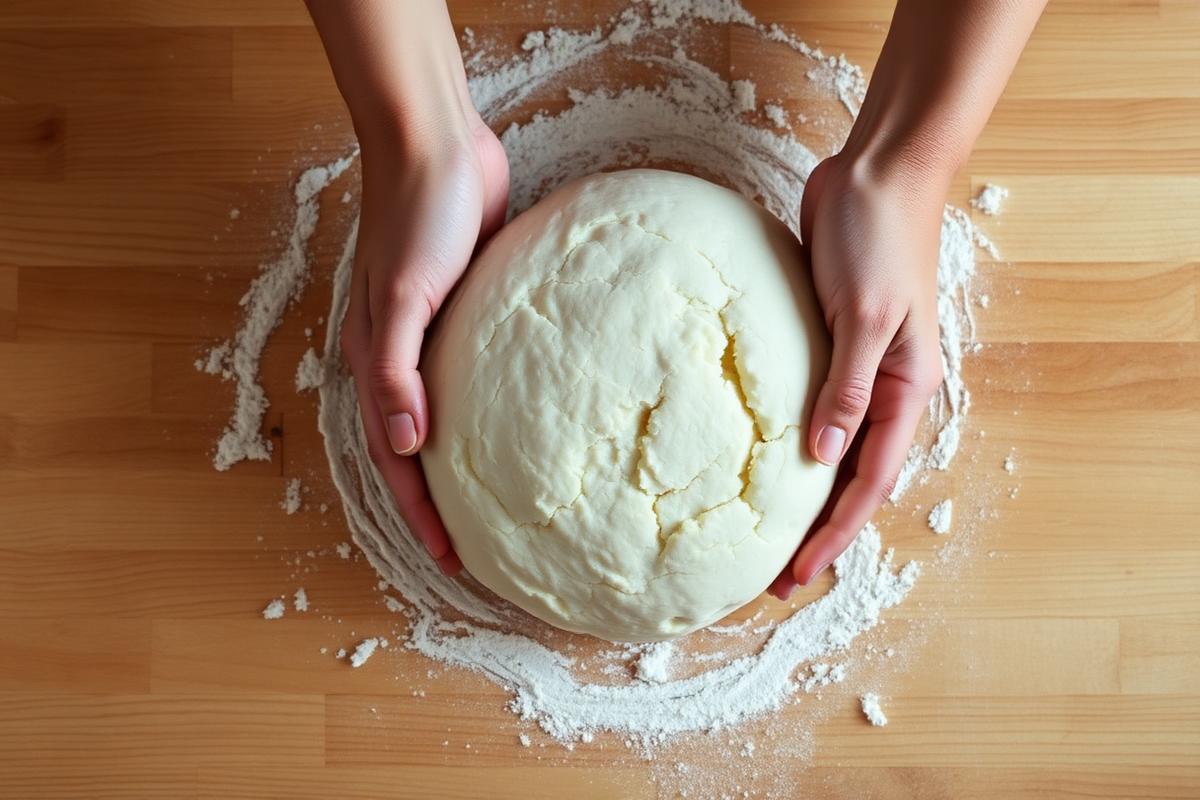
Why Is My Dough So Sticky? Five Fixes That Actually Work
Sticky, slack, uncooperative dough almost always comes down to one of these five variables. Here's how to diagnose it.
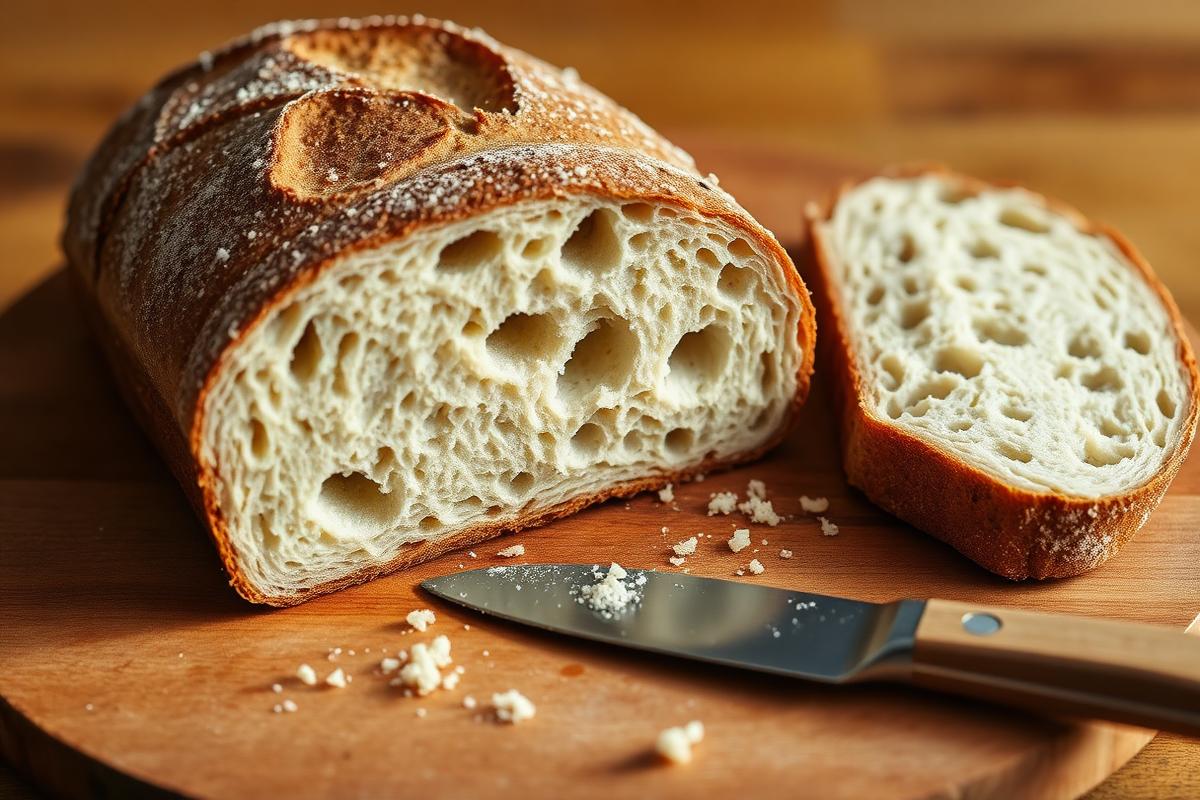
Mastering the Overnight Baking Schedule
How to bake fresh bread before breakfast without setting an alarm at three in the morning.
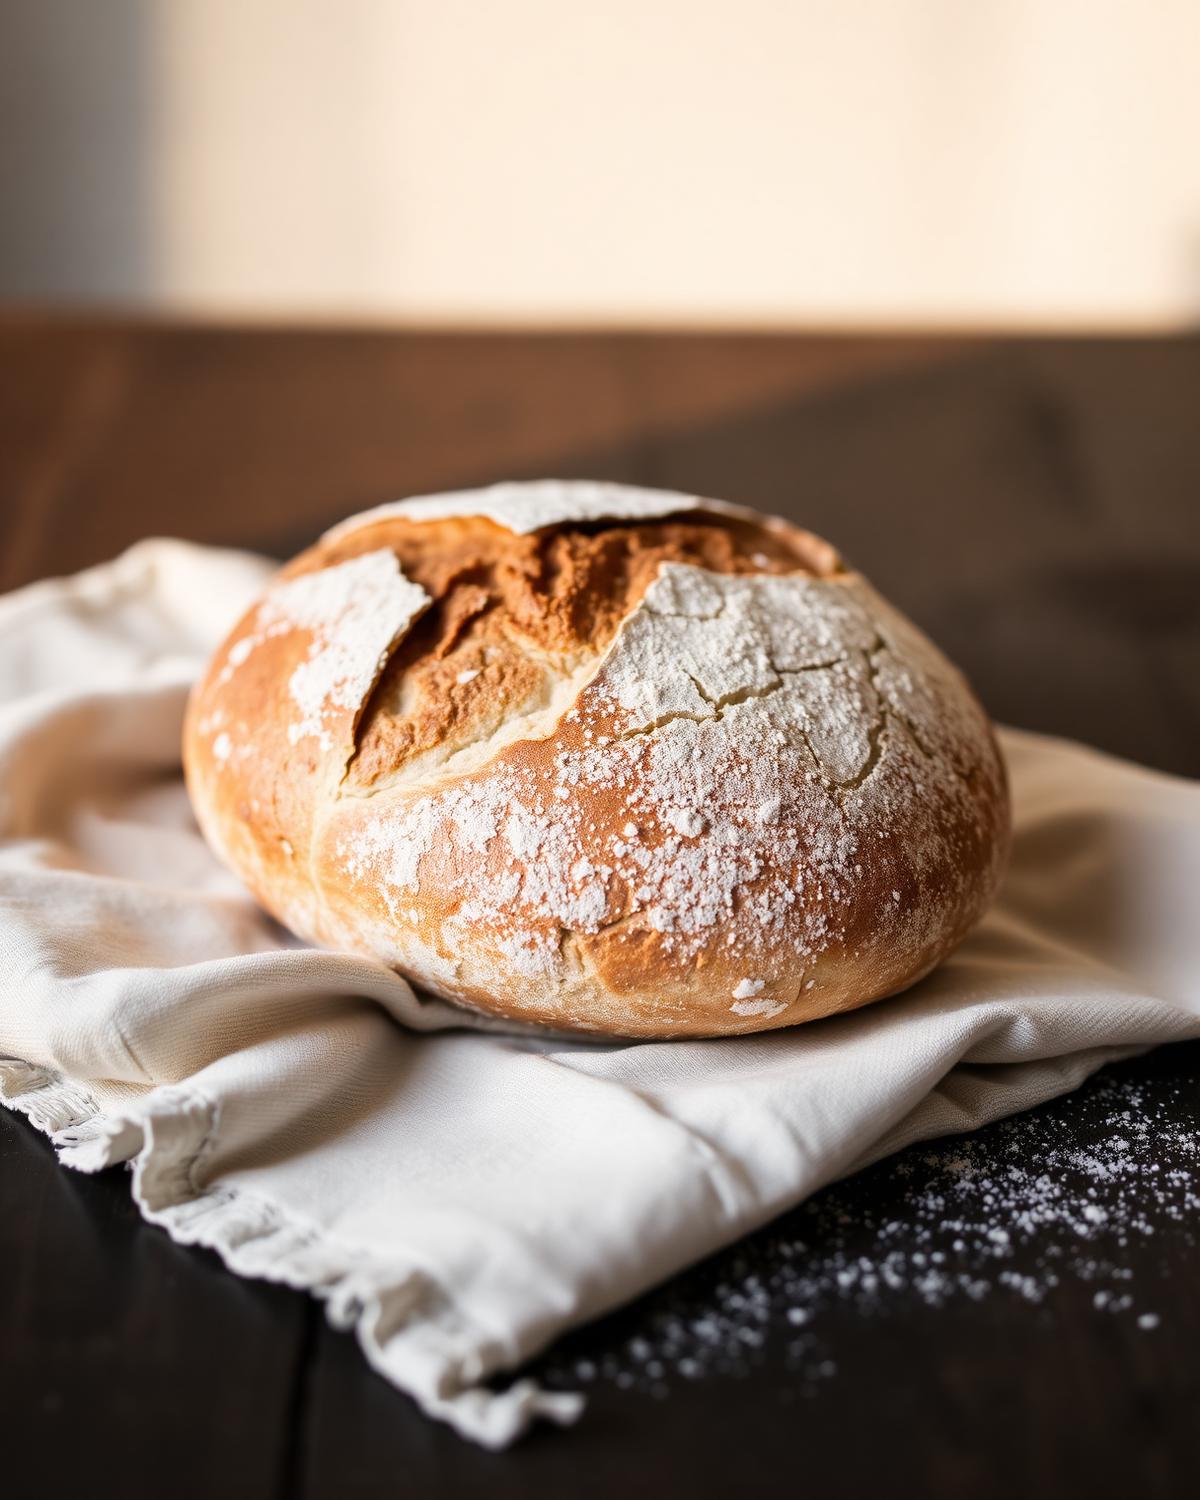
The Anatomy of a Perfect Ear
Scoring is equal parts art and geometry. Here's how a shallow blade change transforms your crust.